Introduction
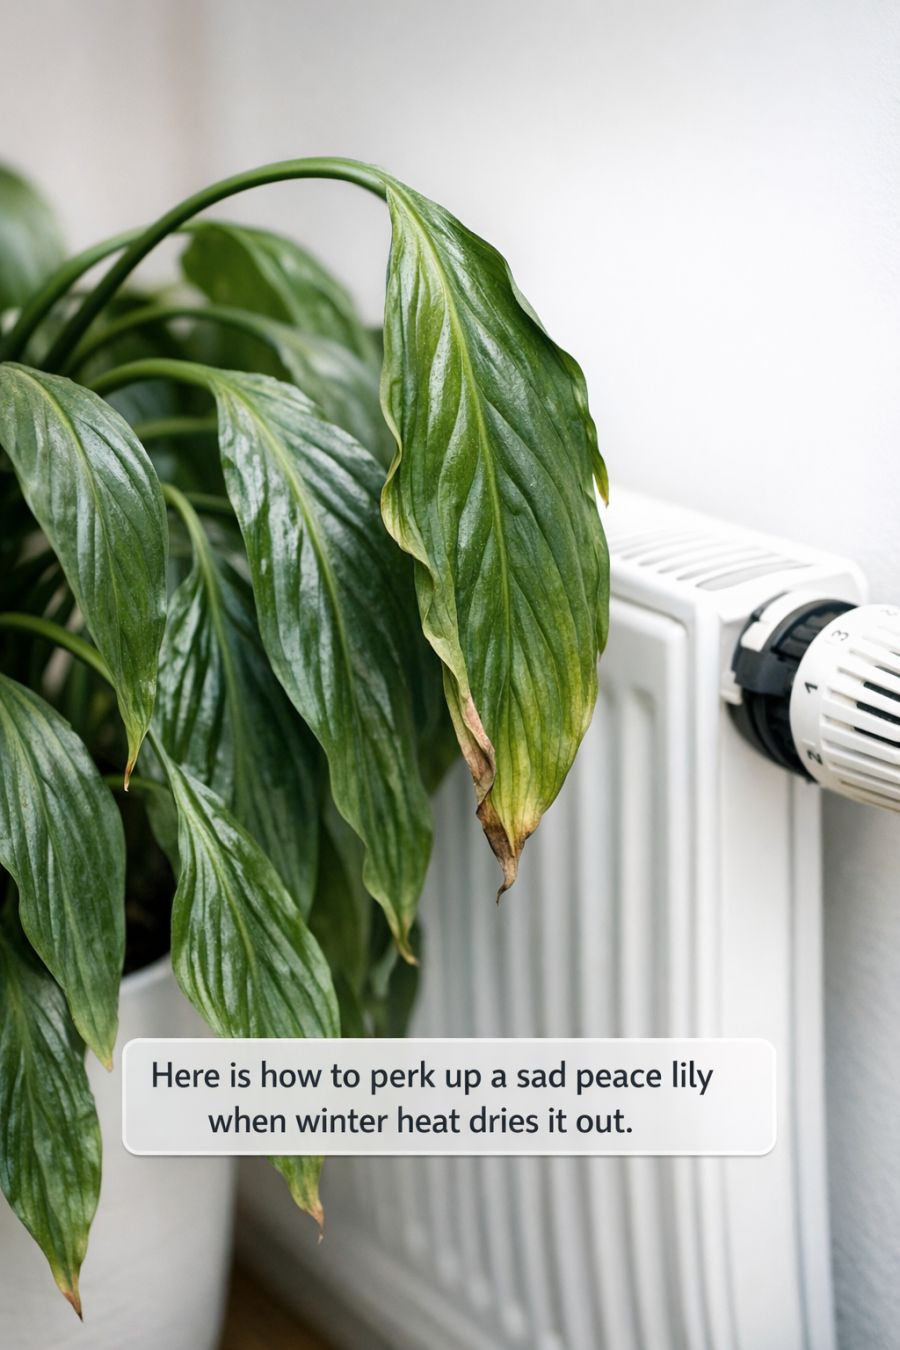
Peace lilies are known for their lush green leaves and elegant white blooms, but winter can be tough on them. Indoor heating strips moisture from the air, often leaving your once-happy plant drooping, browning, and looking downright miserable. The good news? A sad peace lily is usually just thirsty or stressed—not dying. With a few simple adjustments, you can restore its vitality and keep it thriving until spring.
Ingredients:
A healthy peace lily (even if it looks dramatic)
Room-temperature water
Well-draining potting soil
A pot with drainage holes
Spray bottle or small humidifier
Clean scissors or pruning shears
Pebble tray (optional)
Instructions:
Check the Soil First
Press your finger about an inch into the soil. If it feels dry, your peace lily is asking for water—politely, but urgently.
Water Thoroughly
Slowly water the plant until excess moisture drains from the bottom. This ensures the roots are fully hydrated, not just the surface.
Trim the Damage
Snip away yellow or brown leaves near the base. This helps the plant redirect energy to healthy growth.
Boost Humidity
Winter heat equals dry air. Mist the leaves regularly, place the pot on a pebble tray with water, or run a humidifier nearby.
Move It Strategically
Keep your peace lily away from heating vents and radiators. Bright, indirect light is ideal—no harsh winter sun.
Pause the Fertilizer
During winter, peace lilies slow down. Skip feeding until spring to avoid stressing the roots.
Serving and Storage Tips:
Think of care as “maintenance mode” during winter—less water than summer, but more humidity.
Rotate the plant every couple of weeks so it grows evenly.
Keep indoor temperatures consistent; sudden cold drafts can cause shock.
Variations:
