Introduction
At first glance, a nail clipper seems like one of the simplest tools in your home. Two levers, sharp edges, and a clean cut—nothing more, right? But if you look closely, you’ll notice a small round hole near the end of the lever. Most people ignore it, yet this tiny design feature has survived decades of manufacturing changes for a reason. That little circle is a quiet example of smart, functional design that still matters today.
Ingredients:
One standard nail clipper
A small metal ring, chain, or keyring (optional)
Curiosity about everyday objects
Appreciation for practical design
Instructions:
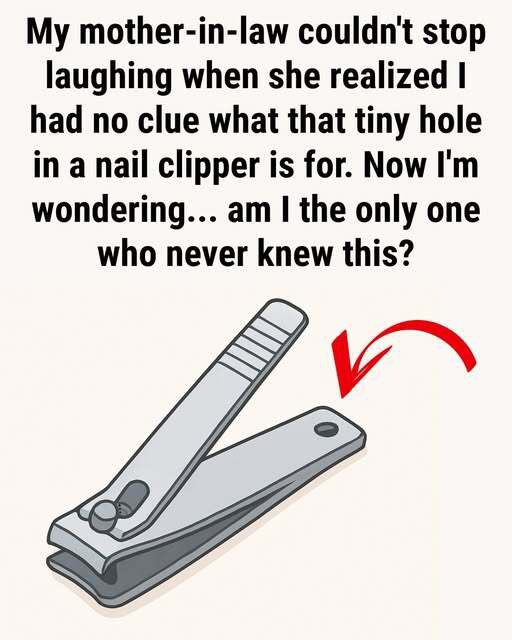
Locate the hole – Flip your nail clipper over and find the small round opening at the end of the lever.
Understand its original role – The hole was designed to allow the clipper to be attached to a keychain, string, or hook, making it easy to carry or hang.
Use it for portability – Slide a keyring or small chain through the hole to keep your clipper with your keys, travel kit, or grooming pouch.
Use it for storage – Hang the clipper on a hook in your bathroom, gym locker, or workshop to prevent it from getting lost.
Appreciate the balance – The hole slightly reduces weight and helps maintain balance without weakening the tool.
Serving and Storage Tips:
Attach your nail clipper to a keyring for quick access while traveling.
Hang it near your grooming supplies to keep your space organized.
Store it in a dry area to prevent rust, especially if it’s frequently exposed to moisture.
Variations:
